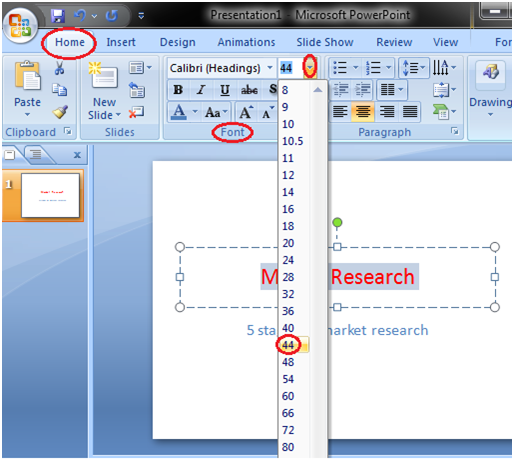
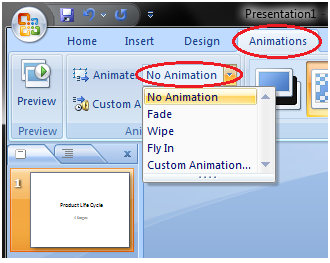
How to Apply Animation Effect
- Select the text or object you want to animate
- Select the Animations tab
- In Animations group click the drop-down arrow next to Animate option
- Animation options will appear
- Move the cursor over different options to see live preview on the slide
- Select the desired animation
See the image:
How to Apply a Custom Animation Effect
- Select the text or object
- Select the Animation tab
- In Animation group click the Custom Animation
- Custom Animation task pane appears on the right
- Click the Add Effect, it will display four options that are further divided into different options
- Select the desired effect
See the image:

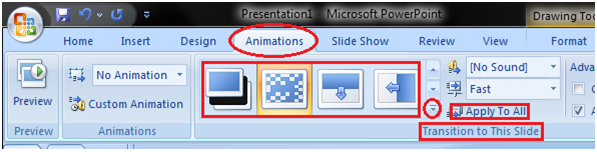
How to Apply Slide Transition Effects
Transition effects appear when one slide changes into next slide in a Slide Show.
- Select the slide to which you want to apply the effect
- Select the Animation tab
- In Transition to This Slide group you will see the transition effects
- Click the drop-down arrow to see menu of transition effects
- Select the desired transition effect
- Click Apply To All to apply the effect to all slides
See the image:
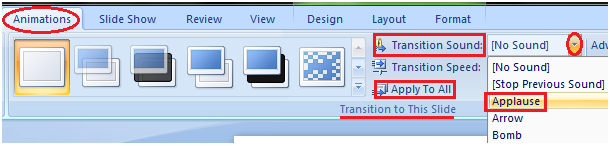
How to Set Slide Transition Sound
- Select the slide to which you want to add the transition sound
- Select the Animation tab
- In Transition to This Slide group click the drop-down arrow next to Transition Sound option
- A list of different transition sounds appears
- Select the desired transition sound
- Click Apply To All to apply the effect to all slides
See the image:
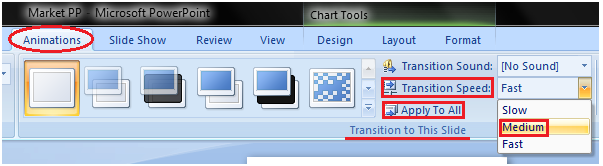
How to Set Slide Transition Speed
- Select the slide
- Select the Animation tab
- In Transition to This Slide group click the drop-down arrow next to Transition Speed option
- It will display three options for transition speed
- Select the desired transition speed
- Click Apply To All to apply the same transition speed to all slides
See the image:
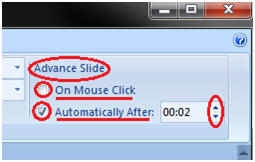
How to Advance Slides
- Select the slide
- Select the Animations tab
- In Transition to This Slide group locate the Advance Slide section
- It shows two options; On Mouse Click and Automatically After
- Enter the desired time for the selected slide in Automatically After option
- Select the next slide and choose the desired time
- Click Apply To All If you want to apply the same timing to all slides
See the image:
Viewing Slides
Once you create the presentation you can view it in different ways.
Select the View tab. Locate the Presentation Views group. It displays four options to view presentations; Normal View, Slide Sorter View, Slide Show View and Notes Page View.
Normal View: The normal view appears by default when we open the PowerPoint window. We create and edit slides in Normal View. This view also offers three view options out of four options in the form of buttons on the status bar.
See the image:

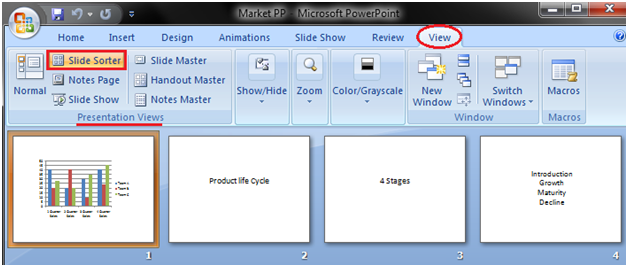
Slide Sorter View: It offers miniature or thumbnail version of all slides. You can see all your slides at one time in the screen. You can also drag or delete the slides to rearrange them.
See the image:
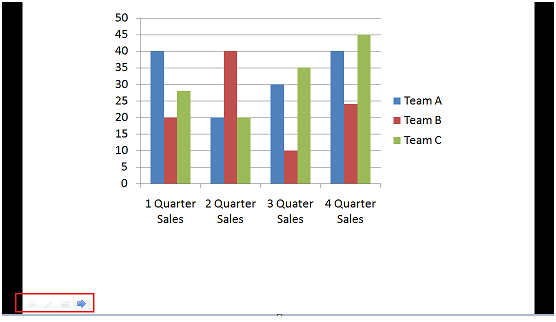
Slide Show View: It displays your presentation in full screen mode. It also offers an additional menu at the left bottom corner of the slide.
See the image:
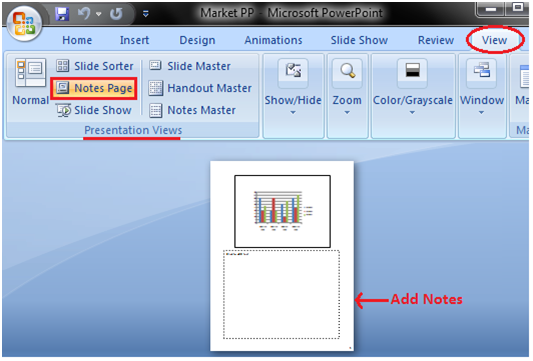
Notes Page View
This view provides space below the slide to add notes.
See the image: