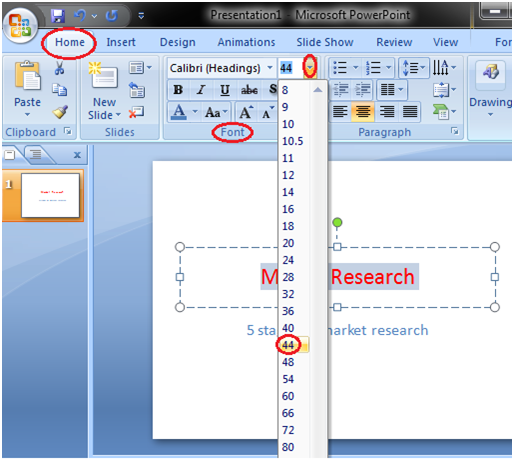
How to Format Font Size
- Select the text you want to modify
- Open the Home tab and locate the Font group
- In Font group click the drop-down arrow next to font size option
- A list of various font sizes appears
- Move the cursor over the list and select the desired font size
See the image:
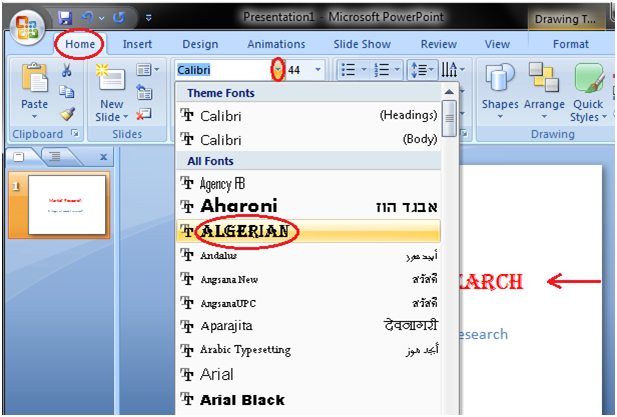
How to Format Font Style
- Select the text you want to modify
- Select Home tab and locate the Font group
- In Font group click the drop-down arrow next to font style option
- A list of font styles appears
- Move the cursor over the list and select the desired font style
See the image:
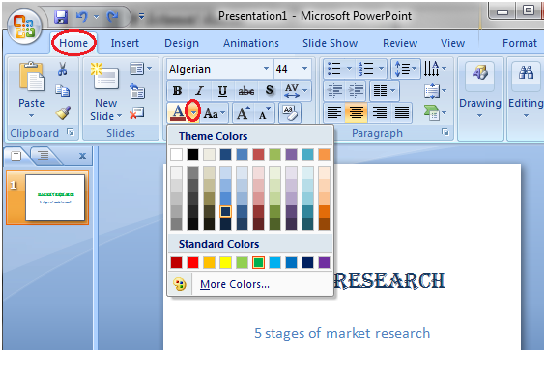
How to Format Text Color
- Select the text you want to change
- In Home tab locate the Font group
- In Font group click the drop-down arrow next to font color icon
- Font color menu appears
- Select the desired font color
See the image:
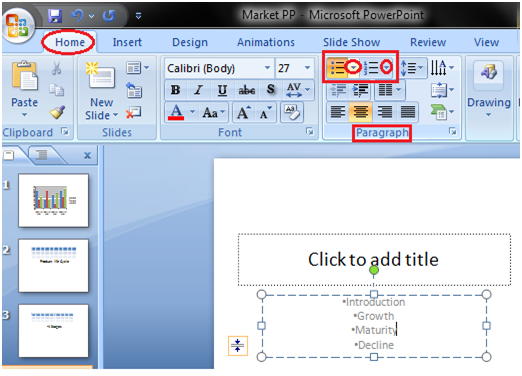
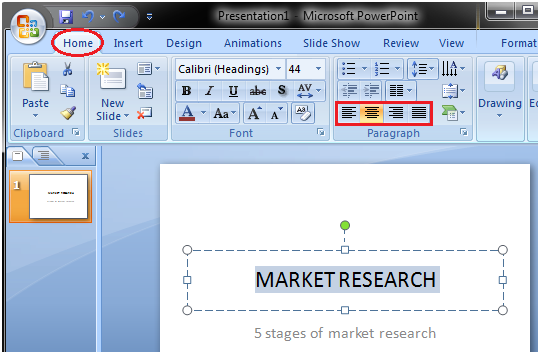
How to Change Text Alignment
- Select the text
- In Home tab locate the Paragraph group
- There are four alignment options at the bottom of Paragraph group
- Select the desired alignment option
The four alignment options are:
- Align Text Left: Aligns text towards left margin
- Center: Brings the text at center
- Align Text Right: Aligns text towards right margin
- Justify: Aligns text towards both left and right margin
See the image:
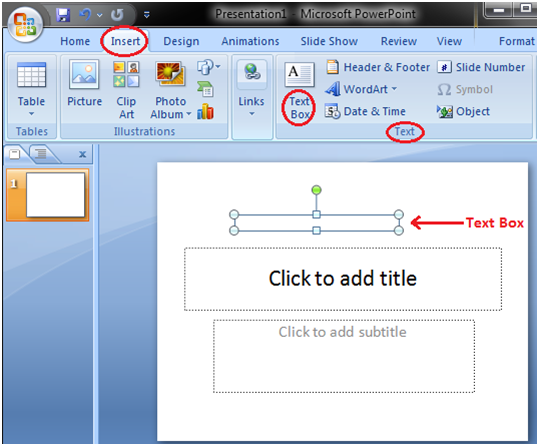
How to Insert a Text Box
In addition to placeholders you can insert text boxes in the slide. To add a text box follow the below listed steps.
- Open the Insert tab
- In Text group click the Text Box command
- Click on the slide and drag the cursor until text box takes the desired width
- Then release the mouse
See the image:
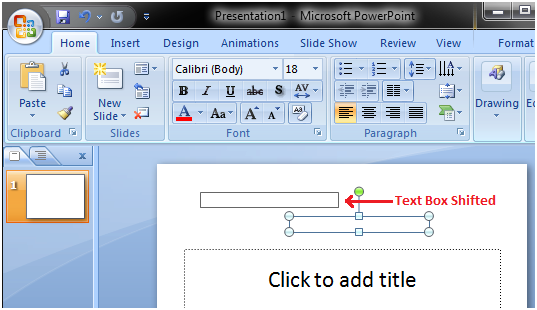
You can move and resize the text box. To move the text box click in the box and drag the mouse to the desired location.
See the image:
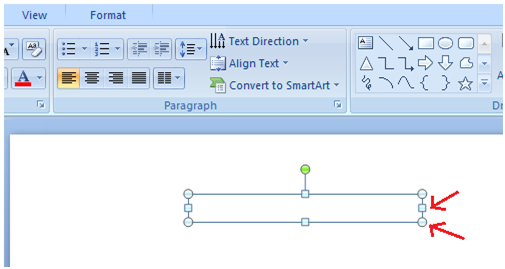
To resize the text box click the circle or square sizing handles of text box and drag the mouse to give it desired size.
See the image:
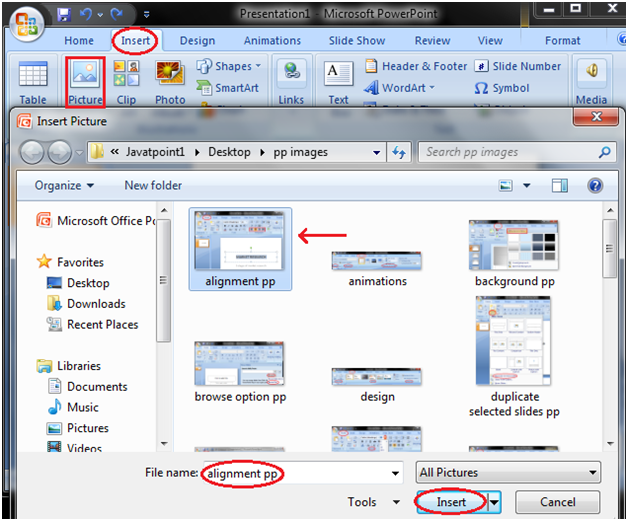
How to Insert Picture and Clip Art
To Add Picture:
- Click the Insert tab
- In Illustrations group click on the Picture button
- Insert Picture dialogue box appears
- With a click select the desired picture
- Click Insert, the picture will be added to the slide
- Click and drag the picture to move it to desired location
See the image:
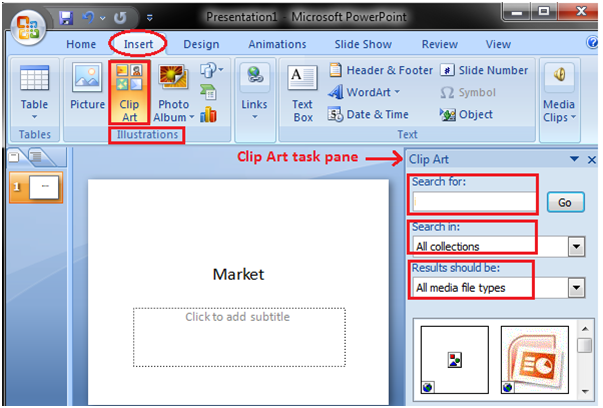
To Add Picture:
- Click the Insert tab
- In Illustrations group click the Clip Art button
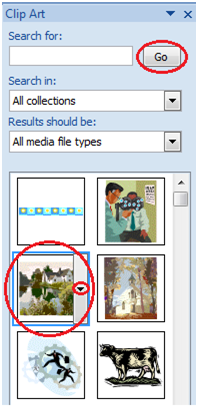
- Clip Art task pane appears on the right side
- In task pane you will notice three fields: Search for, Search in, Results should be
See the image:
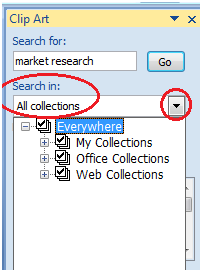
In "Search Field" you can enter the keyword related to clipart you want to insert
In "Collection Field" click the drop-down arrow. It gives four options. Choose the option that suits your requirement.
See the image:
In "Results should be" filed click the drop-down arrow, you will find five options. Choose the option that suits your requirement.
See the image:
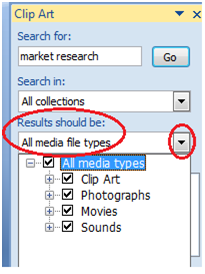
Now click the "Go". Clip Art menu will appear. Select the desired clip art or click the drop- down arrow next to clip art, it will display Insert option to add the clip art.
How to Edit Picture and Clip Art
- Select the Picture or Clip Art that you want to edit
- Format tab appears in the Ribbon next to View tab
- It displays four groups of commands; Adjust, Picture Styles, Arrange and Size group
See the image:

The Adjust group displays six commands.
See the image:
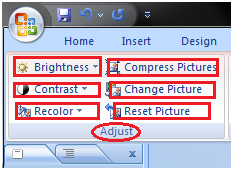
- Brightness: To increase and decrease the picture brightness
- Picture Contrast: To increase or decrease the picture contrast
- Recolor: To recolor the picture to give it special effect
- Compress Picture: To compress picture to reduce its size
- Change Picture: To change the picture
- Reset Picture: To discard all the changes made to the picture
The Picture Styles group displays picture styles and three commands.
See the image:
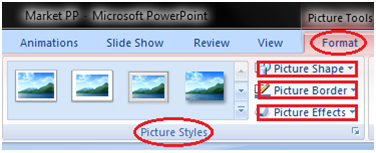
- Picture Styles: To apply a picture style to the picture or clip art
- Picture Shape: To change the shape of the picture or clip art
- Picture Border: To give colors to the picture border
- Picture Effects: To apply visual effect to the picture
The Arrange group has six commands:
See the image:
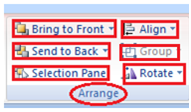
- Bring to Front: To bring the picture in front of all other objects
- Send to Back: To send the picture behind other objects
- Selection Pane: It displays selection pane with various options to format and change order of picture
- Align: To align the multiple pictures on the slide. You can distribute them evenly across the slide.
- Group: To group different objects together
- Rotate: To rotate the text or objects
The Size group has three commands.
See the image:
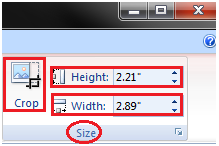
- Crop: To remove unwanted parts of the picture
- Height: To change the height of the picture
- Width: To change the width of the picture
How to Create Bulleted or Numbered lists
- Select the text or list to which you want to add bullets or numbering
- Select Home tab and locate the Paragraph group
- Click the Bullets or Numbering button or click the drop-down arrow next to these buttons to see more bullet styles and numbering formats
- Select the style you want to apply to text
See the image: